How To Run CUDA C or C++ on Google Colab or Azure Notebook
How To Run CUDA C or C++ on Google Colab or Azure Notebook

CUDA code doesn’t run on AMD CPU or Intel HD graphics unless you have a NVIDIA Hardware inside you Machine
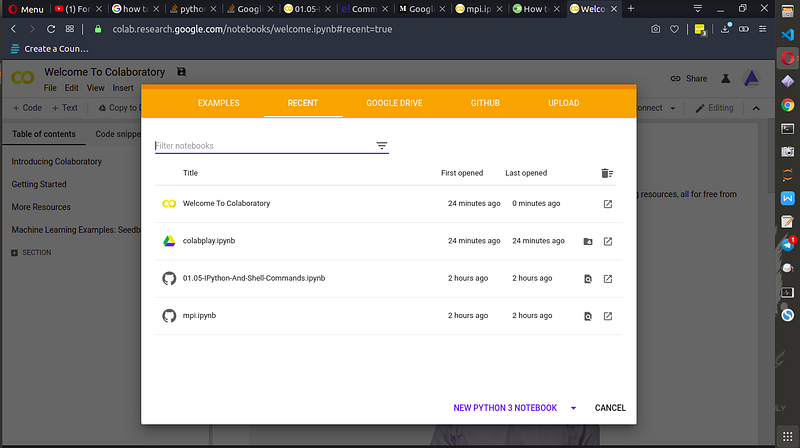
Step 1: Go tohttps://colab.research.google.comin Browser and Click on New Python 3 Notebook
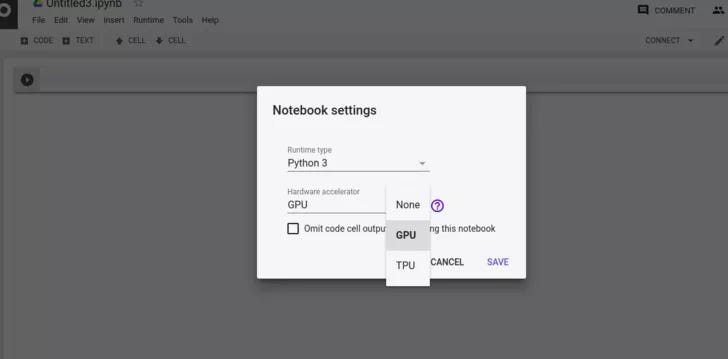
Step 2: Click to Runtime > Change > Hardware Accelerator GPU .
Step 3: Refresh the Cloud Instance of CUDA On Server [write code in a Seprate code Block and Run that]
1
!apt-get --purge remove cuda nvidia* libnvidia-*!dpkg -l | grep cuda- | awk '{print $2}' | xargs -n1 dpkg --purge!apt-get remove cuda-*!apt autoremove!apt-get update
Step 4: Install CUDA Version 9 [write code in a Seprate code Block and Run that]
1
!wget https://developer.nvidia.com/compute/cuda/9.2/Prod/local_installers/cuda-repo-ubuntu1604-9-2-local_9.2.88-1_amd64 -O cuda-repo-ubuntu1604-9-2-local_9.2.88-1_amd64.deb!dpkg -i cuda-repo-ubuntu1604-9-2-local_9.2.88-1_amd64.deb!apt-key add /var/cuda-repo-9-2-local/7fa2af80.pub!apt-get update!apt-get install cuda-9.2
Step 5: Check the Version of CUDA by : running the command below to get the following output :
1
!nvcc --version
Output :
1
nvcc: NVIDIA (R) Cuda compiler driver Copyright (c) 2005-2018 NVIDIA Corporation
Step 6 :Execute the given command to install a small extension to run nvcc from Notebook cells[write code in a Seprate code Block and Run that]
1
!pip install git+git://github.com/andreinechaev/nvcc4jupyter.git
Step 7:Load the extension using this code:[write code in a Seprate code Block and Run that]
1
%load_ext nvcc_plugin
Important : To check the Code run the following snippet in [write code in a Seprate code Block and Run that only again when changing the code and re running it]
1
%%cu#include <stdio.h>#include <stdlib.h>__global__ void add(int *a, int *b, int *c) {*c = *a + *b;}int main() {int a, b, c;// host copies of variables a, b & cint *d_a, *d_b, *d_c;// device copies of variables a, b & cint size = sizeof(int);// Allocate space for device copies of a, b, ccudaMalloc((void **)&d_a, size);cudaMalloc((void **)&d_b, size);cudaMalloc((void **)&d_c, size);// Setup input values  c = 0;a = 3;b = 5;// Copy inputs to devicecudaMemcpy(d_a, &a, size, cudaMemcpyHostToDevice);  cudaMemcpy(d_b, &b, size, cudaMemcpyHostToDevice);// Launch add() kernel on GPUadd<<<1,1>>>(d_a, d_b, d_c);// Copy result back to hostcudaError err = cudaMemcpy(&c, d_c, size, cudaMemcpyDeviceToHost);  if(err!=cudaSuccess) {      printf("CUDA error copying to Host: %s\n", cudaGetErrorString(err));  }printf("result is %d\n",c);// CleanupcudaFree(d_a);cudaFree(d_b);cudaFree(d_c);return 0;}
The Ouptut should be 8
For Next time just run to following script to setup the environment[LINK]
PS : Working on how to Pass Command Line Argument
[Azure notebook do not support GPU yet and code works on CPU but is slower]
Refernces :
- https://medium.com/lean-in-women-in-tech-india/google-colab-the-beginners-guide-5ad3b417dfa
- https://stackoverflow.com/questions/51194303/how-to-run-a-py-file-in-colab
- https://neptune.ai/blog/how-to-use-google-colab-for-deep-learning-complete-tutorial