Jupyter Notebook in Windows Subsystem for Linux |WSL
Jupyter Notebook in Windows Subsystem for Linux |WSL

Python installation on WSL
Although Python comes preinstalled with most of the Linux distributions but unfortunately it doesn’t comes with WSL. So you have to install it manually and to do that write the following commands —
1
sudo apt update && upgrade
1
sudo apt install python3 python3-pip ipython3
1
sudo apt install python3-pip
This is it. This will install Python 3 in your WSL. To check python version type
1
python3 --version
Installing Jupyter Notebook
You can run Jupyter Notebook in your WSL. Here WSL will act as a jupyter server accessible at localhost with port 8888. The steps to install Jupyter is as following-
- Install Jupyter by typing the following command in your Bash Shell.
1
pip3 install jupyter
It will take some time and install all the packages to be installed
You can run the jupyter notebook from anywhere (i.e., from the Linux or Windows filesystem). The WSL will act as a jupyter server accessible at localhost with port 8888.
Switching to Browsers Installed in Windows
Create alias to launch jupyter without browser from the WSL:
- Open your bash configuration:
vim ~/.bashrc- Add to the end of the file and save/exit:
alias jupyter-notebook="~/.local/bin/jupyter-notebook --no-browser"
Now you can run a jupyter serverjupyter-notebookand access the service with your browser from Windowslocalhost:8888.
When Running for the First time will present you with withs Screen
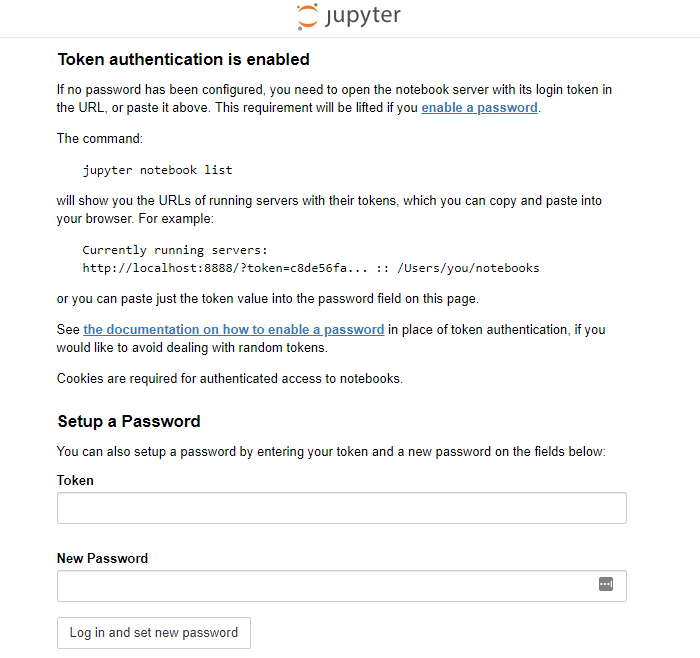
Now Head back to you WSL Terminal and use the Token to set your Password
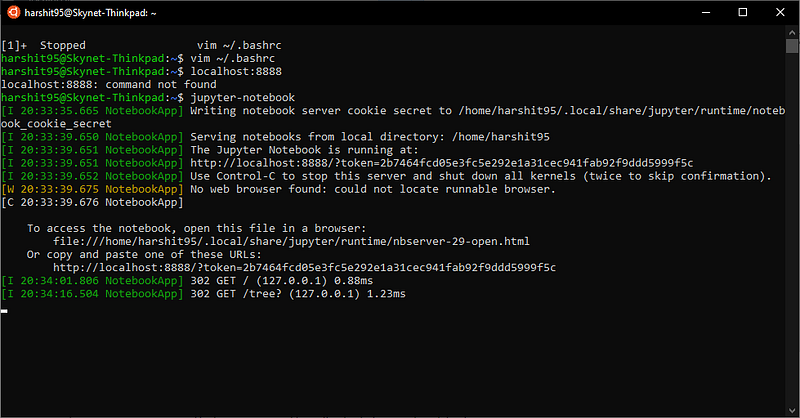
And if everything works well
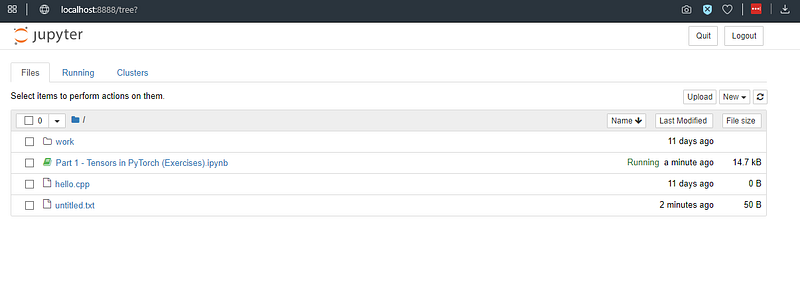
The notebooks you upload get stored in the location inside WSL
1
/home/harshit95/.jupyter
or if not you can check the paths used by jupyter by typing :
1
jupyter --path
Happy WSL-ing :)