Setup Spring Boot in Maven Project in Eclipse Part 2
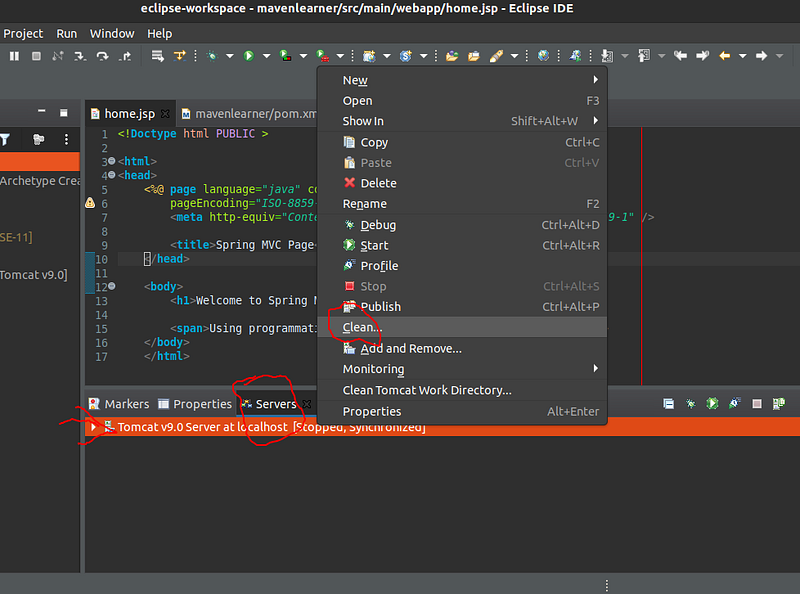
1. Clean
Clean the Server Instance
2. pom.xml
Go to the File pom.xml of the project and add the following dependencies below the existing “junit” dependency already created when creating a maven , to add more dependencies or latest dependencies go toMVNRepository, search for the dependency you want to add it will give yout snippet to add that dependency
Link :https://mvnrepository.com/
1
| <groupId>org.springframework</groupId>
|
1
| <artifactId>spring-webmvc</artifactId>
|
1
| <version>5.3.8</version>
|
1
| <groupId>javax.servlet</groupId>
|
1
| <artifactId>javax.servlet-api</artifactId>
|
1
| <version>4.0.1</version>
|
1
| <scope>provided</scope>
|
1
| <groupId>javax.servlet</groupId>
|
1
| <artifactId>jstl</artifactId>
|
3. home.jsp
In the created project go to directory
1
| /<Project Name >/src/main/webapp/WEB-INF
|
and rename the existing index.jsp-> home.jsp with the following code replacing the default hello world template
1
| <!Doctype html PUBLIC >
|
1
| <%@ page language="java" contentType="text/html; charset=ISO-8859-1"
|
1
| pageEncoding="ISO-8859-1" isELIgnored="false"%>
|
1
| <meta http-equiv="Content-Type" content="text/html; charset=ISO-8859-1" />
|
1
| <title>Spring MVC Page</title>
|
1
| <h1>Welcome to Spring MVC !</h1>
|
1
| <span>Using programmatic application context and controllers</span>
|
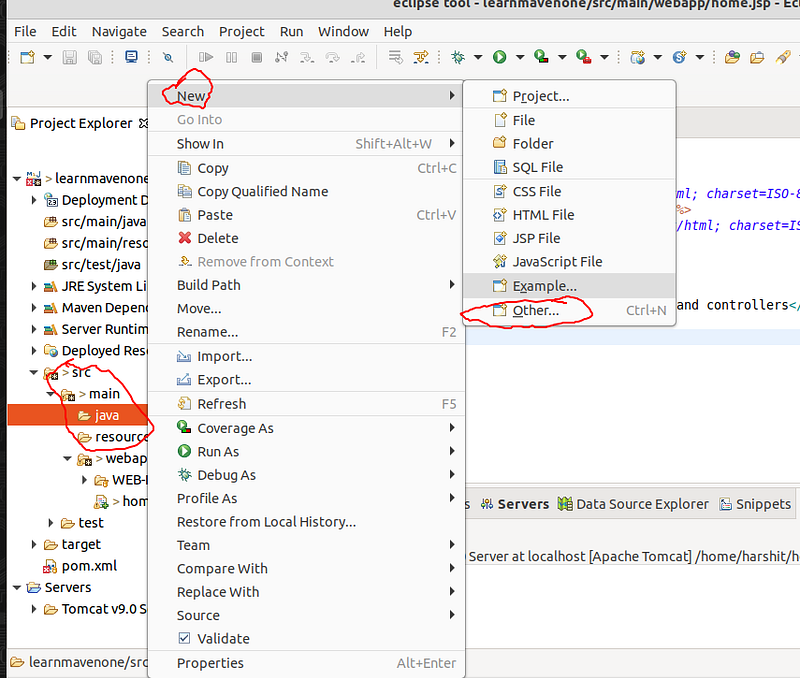
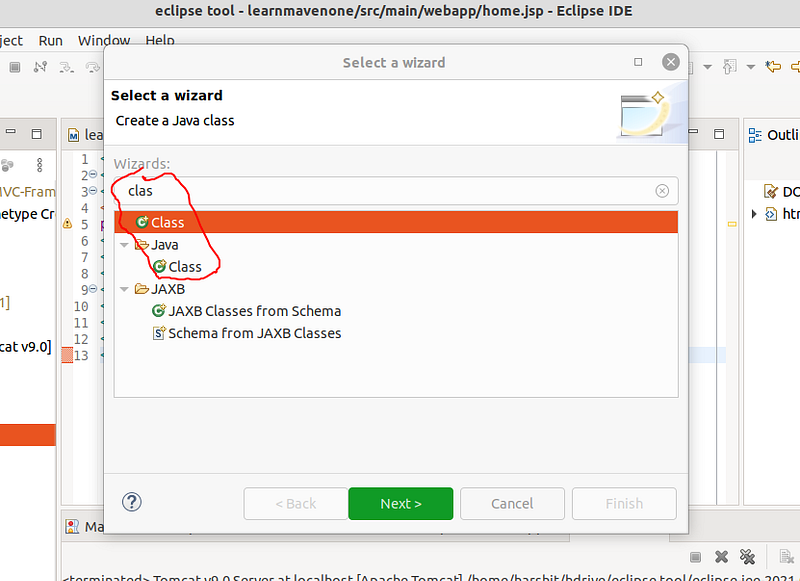
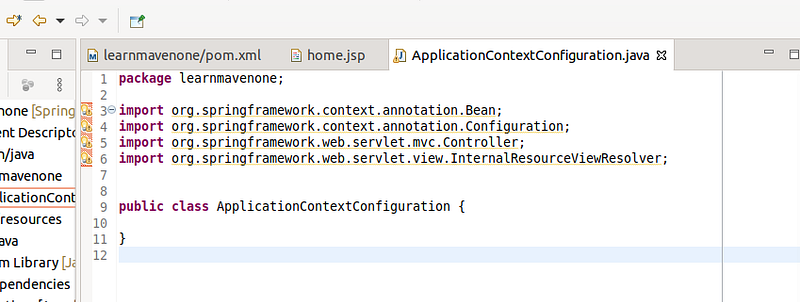
4. Create New Class
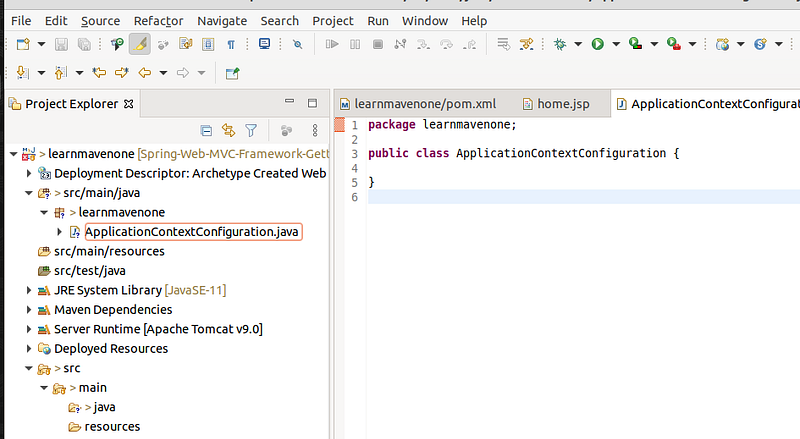
Create a new class that will specify the application context of this app this is going to be a java class in the java folder at the following location and create a new java class named “ ApplicationContextConfiguration”
1
| <projectname>/main/java
|
Application Context
Spring configuration file which holds the Bean definition for our spring app
- This is the file that hold the bean definition for our spring app
- These are property that apply as a whole and are not specific to Spring MVC
- We are defining these file pro grammatically then creating it using XML configuration
5. Import Libraries
Add the following libraries to the package
1
| import org.springframework.context.annotation.Bean;
|
1
| import org.springframework.context.annotation.Configuration;
|
1
| import org.springframework.web.servlet.mvc.Controller;
|
1
| import org.springframework.web.servlet.view.InternalResourceViewResolver;
|
so that it looks like this
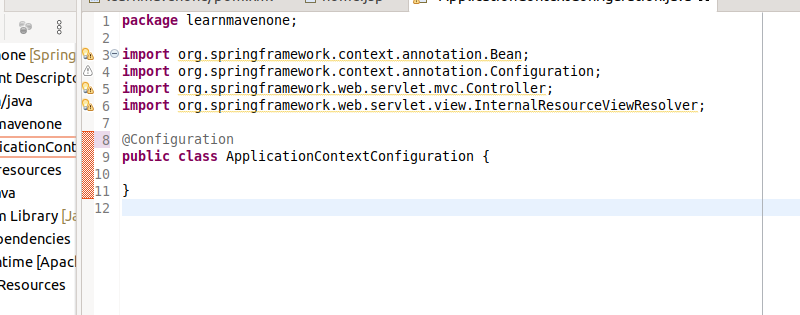
6. @Configuration
Any programmatic configuration in java has to be annotated with @Configuration , annotation
- It is part of Core spring framework
- This indicates that this class has the BEAN methods
- The Spring framework will look for classes tagged with
“@” and pick up the bean defination from this class
7. Specifying the Bean
- The Bean specified is “viewResolver”
- View resolver can be thought of as logical mapping from view names to specific kind of view this allows to render views without being tied to specific view technology
- By Always specifying views within the app with their logical names rather then physical implementation allows us to decouple app from how views are actually implemented
1
| @Bean(name="viewResolver")
|
Any time there is need for viewResolver within our application this internal resource viewResolver is what will be injected into that object.
- Mapping a logical view to actual view is role of view resolver
1
| viewResolver.setPrefix("/");
|
The directory corresponds to root director that is “ WEB-INF” folder
1
| viewResolver.setSuffix(".jsp");
|
Suffix for all views pages
the whole class will look like this:
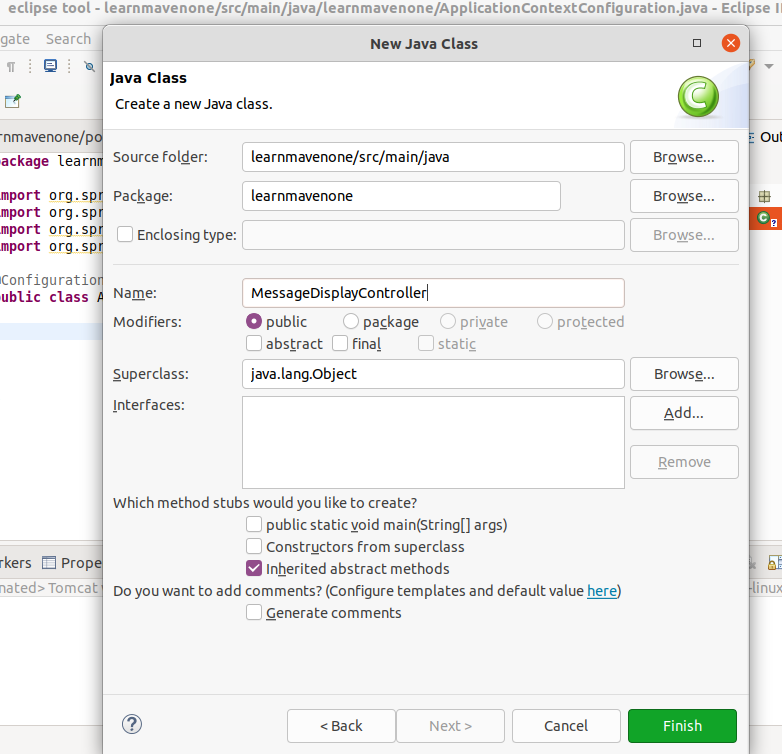
8. MessageDisplayController Class
Create the class same way as created in the previous step just this time name the class as the “ MessageDisplayController”
This is going to be MessageControl object that will handle the incoming web request from our web application users , access the model update the model state if needed and respond with corresponding view
- Setup the libraries within the controller
1
| import javax.servlet.http.HttpServletRequest;
|
1
| import javax.servlet.http.HttpServletResponse;
|
1
| import org.springframework.web.servlet.ModelAndView;
|
1
| import org.springframework.web.servlet.mvc.Controller;
|
- Have this controller implement Controller Interface is an explicit specification
1
| public class MessageDisplayController implements Controller {}
|
- Any class implementing this interface should be able to handle http web request in a thread safe manner
- Notice the input arguments are http servlet request and http servlet response
- View simply return the model to be rendered using the
1
| return new ModelAndView(“home”);
|
- The ModelAndView in MVC contain the model map as well as a view
- The name of the view is simply “home”
- This model will be recieved by the dispatcher servlet to be rendered
1
| public ModelAndView handleRequest(HttpServletRequest request, HttpServletResponse response) throws Exception
|
1
| return new ModelAndView("home");
|
9. Setting Controller Bean
Next in the ApplicationContextConfiguration.java class add the following bean
1
| public Controller getMessageDisplayController()
|
1
| return new MessageDisplayController();
|
- Returns the object of the controller interface instantiated
- / corresponds the the root of the web application
- This is the handler mapping
- Any request made to the root of the web application , will be given to this controller to handle that request
10. Setup the WebServletConfiguration
Create Another Class in the java/main folder name WebServletConfiguration
And add in the following libraries
1
| import javax.servlet.ServletContext;
|
1
| import javax.servlet.ServletException;
|
1
| import javax.servlet.ServletRegistration;
|
1
| import org.springframework.web.WebApplicationInitializer;
|
1
| import org.springframework.web.context.support.AnnotationConfigWebApplicationContext;
|
1
| import org.springframework.web.servlet.DispatcherServlet;
|
- These libraries are spring specific not Spring MVC specific
- This is the class we are going to use programatically configure the servlet
add the following inheritance
1
| implements WebApplicationInitializer
|
- It allows to configure server context programmatically
- Any implementation of this web application initializer interface is automatically detected by the spring servlet container
- It will be included as the bootstrap process for the servlet container
1
| public void onStartup(ServletContext ctx) throws ServletException {
|
1
| AnnotationConfigWebApplicationContext appContext = new AnnotationConfigWebApplicationContext();
|
1
| appContext.register(ApplicationContextConfiguration.class);
|
1
| ServletRegistration.Dynamic servlet = ctx.addServlet("dispatcher", new DispatcherServlet(appContext));
|
1
| servlet.setLoadOnStartup(1);
|
1
| servlet.addMapping("/");
|
- onStartup is part of webInitializer startup interface
- Servlet context will be inject into the spring
- On startup of the application register the context of the application
- In Spring MVC Application we need to explicitly register the dispatcher servlet
The code for this class will look like this
1
| public class WebServletConfiguration implements WebApplicationInitializer{
|
1
| public void onStartup(ServletContext ctx) throws ServletException {
|
1
| AnnotationConfigWebApplicationContext appContext = new AnnotationConfigWebApplicationContext();
|
1
| appContext.register(ApplicationContextConfiguration.class);
|
1
| ServletRegistration.Dynamic servlet = ctx.addServlet("dispatcher", new DispatcherServlet(appContext));
|
1
| servlet.setLoadOnStartup(1);
|
1
| servlet.addMapping("/");
|
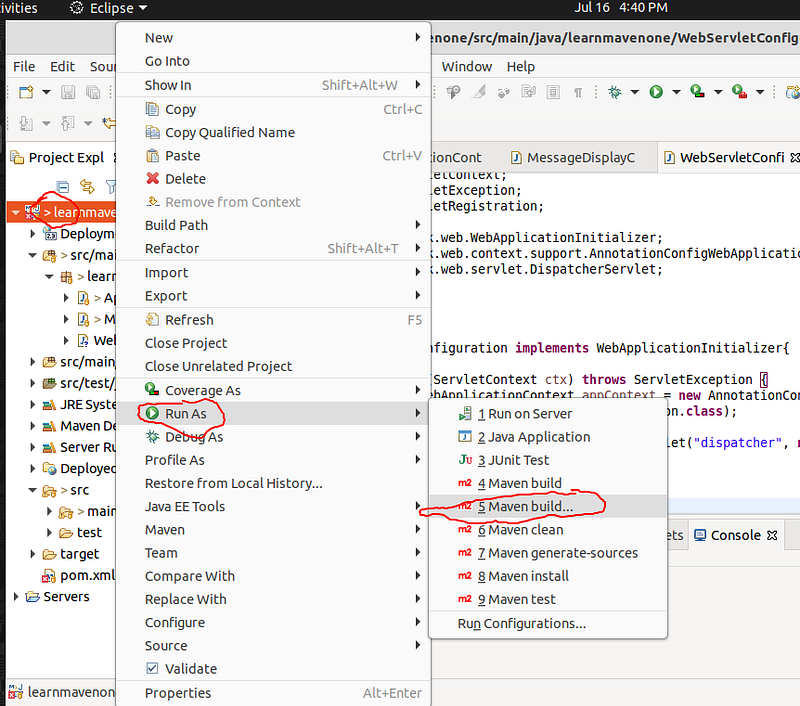
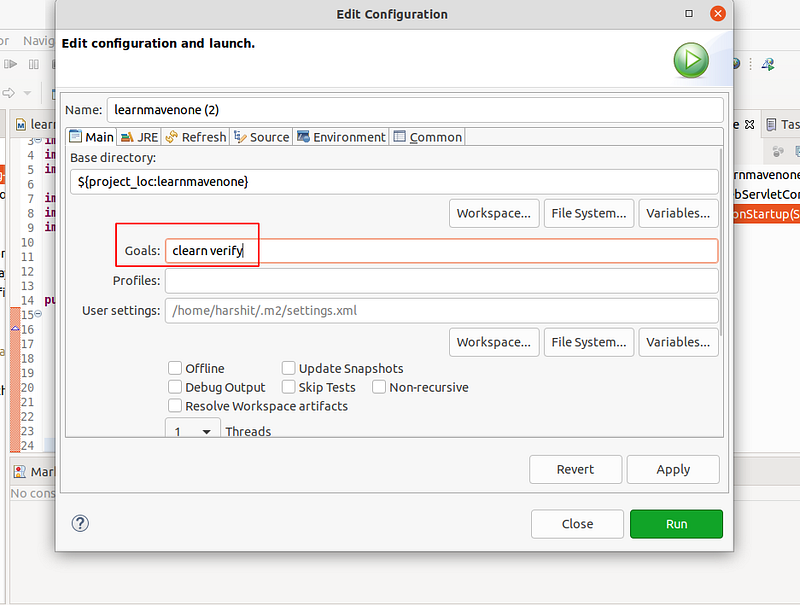
11. Now to Build the Application
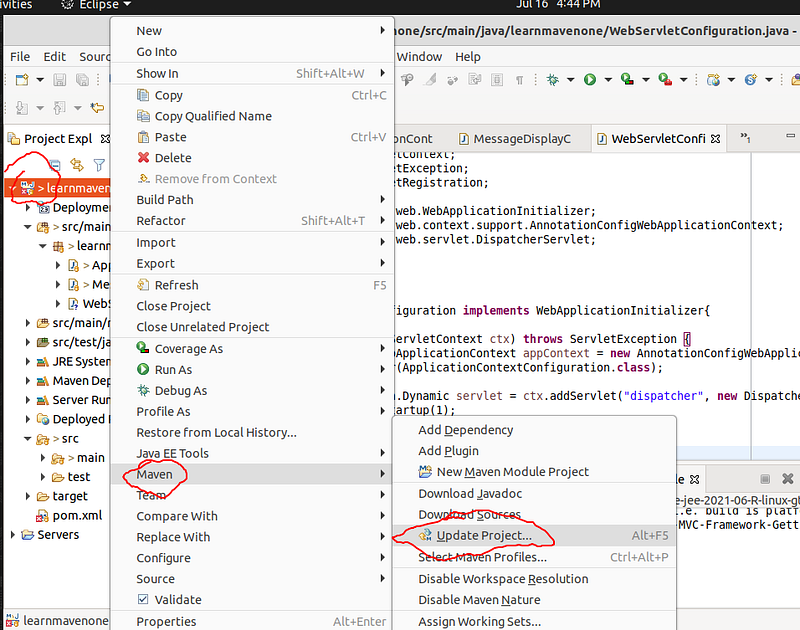
12 . Update Maven Project
- Clean Server
- Run Maven Build
- Refresh and check “Target” Folder to see the new Build files created
- Lookout for .war file
- Under controller folder there will be .class folder for every file in the project
- Can Also Clean Eclipse Cache from top bar » project » clean
- Run the Server , on tomacat
Reference