Setting up Spring Application Specifying Application Context using XML Part 3
Setting up Spring Application Specifying Application Context using XML Part 3
Setting up Spring Application Specifying Application Context using XML Part 3
Part 1 :Setting up a Maven Project on Eclipse in Linux Ubuntu Part 1
Part 2:Setup Spring Boot in Maven Project in Eclipse Part 2
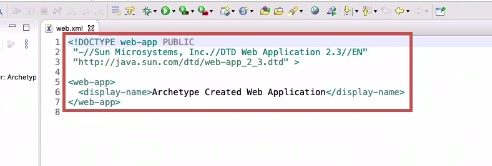
The Web.xml file remains same
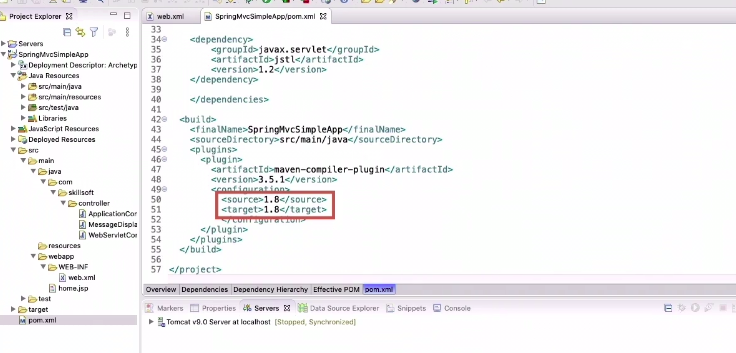
If getting error or re-compiling that wrong version of JDK ,has been specified correct it by explicitly in pom.xml
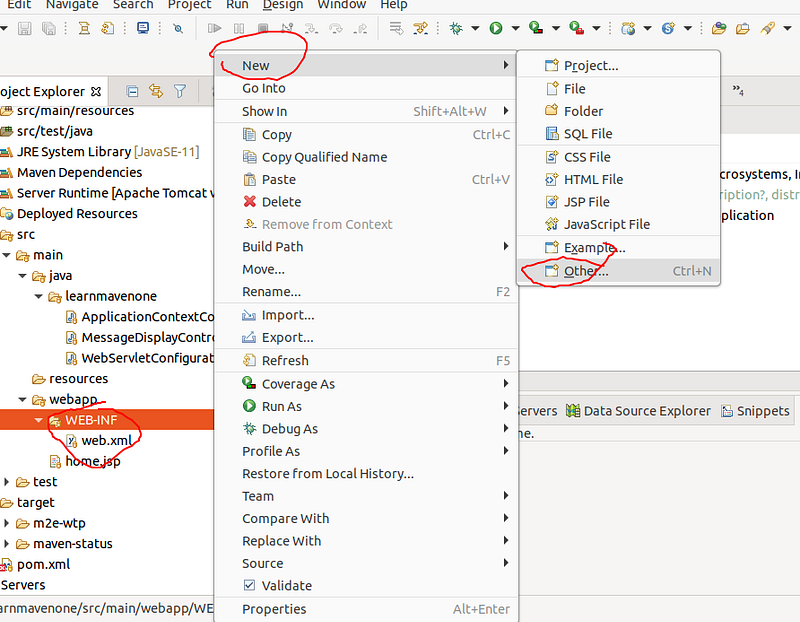
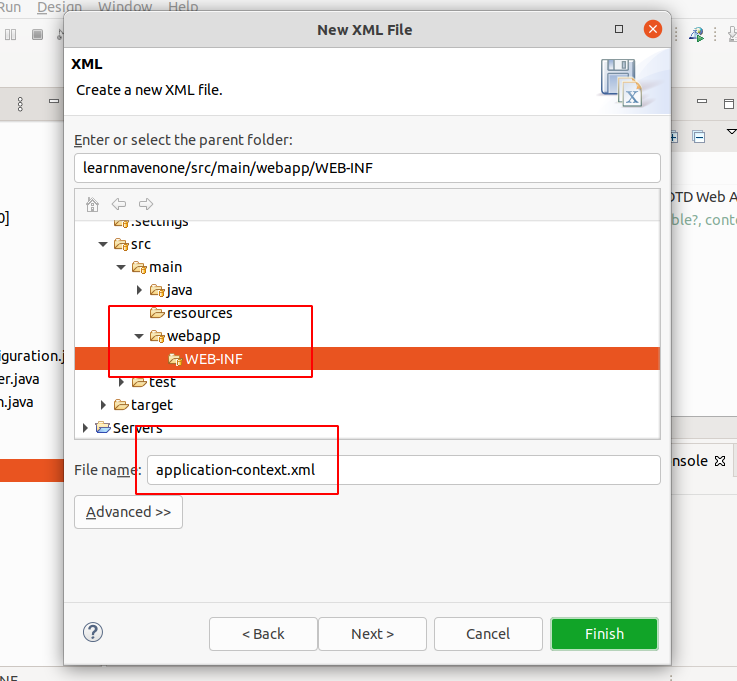
1. Add and XML file
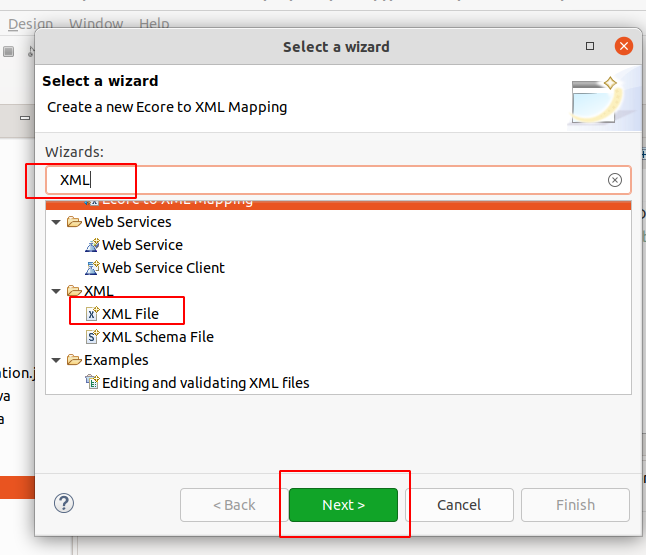
Now name the application “application-context.xml”
Add the following XML content to the file
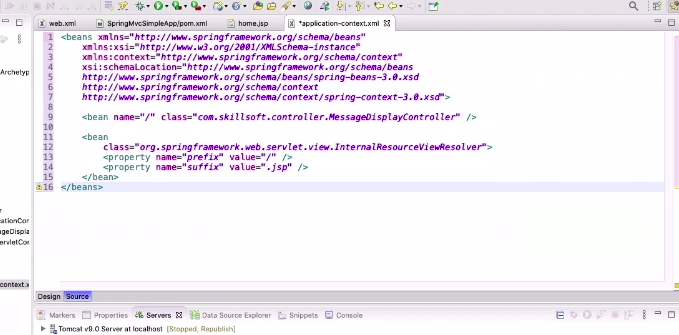
- The Second beans is for the messageController object
- The name of the bean is “/” this is the only controller that handles the root mapping of the application
- The third bean maps to the messageDisplayController
- No Change in MessageDisplayController.java
2. Change in WebServletConfiguration
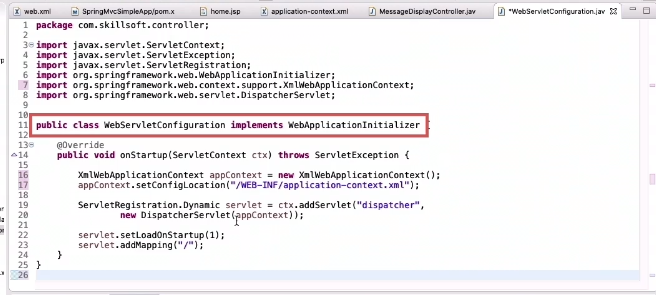
This is what the new code will look like
- Since the specification is XML based specification we instantiate an XML based context class to load the config from the XML file we made
- It will read the XML file and setup the configuration according to the XML config.
3. Run Application
- Stop tomcat
- Clean server
- Clean Eclipse Cache
- Maven Build
- Run as » run on server
Reference
This post is licensed under CC BY 4.0 by the author.